You are reading help file online using chmlib.com
|
You are reading help file online using chmlib.com
|
 
|
![]()
Produce and Share a Video > Produce a video using Custom Production Settings > Select Encoding Options > AVI Encoding Options
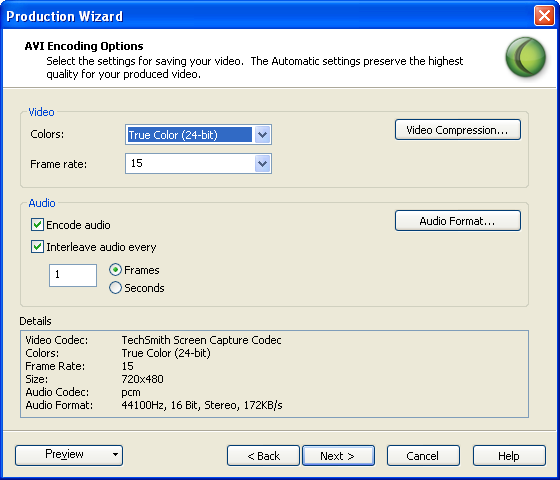
AVI Encoding Options
Camtasia Studio > Task List > Produce video as > Custom production settings > AVI video
The AVI file format retains the highest quality and you can edit AVI files in Camtasia Studio or other video editing programs. This AVI file format is a vendor-neutral format you can convert into vendor-specific streaming media file formats. These features make AVI files an ideal format for your original, high-quality recordings.
Camtasia Studio uses the TechSmith Screen Capture Codec (TSCC) as the default video compressor. However, you can choose to use any available Windows AVI video codec, including the standard MD-RLE and MS Video 1 codecs that come with Windows.
Production Preview OptionFor more information on the Preview option, see Preview the Production Settings.
Continue with Production WizardTo continue with the Production Wizard, click Next. Continue with Video Size.
| http://www.techsmith.com/ |
|
|
You are reading help file online using chmlib.com
|