|
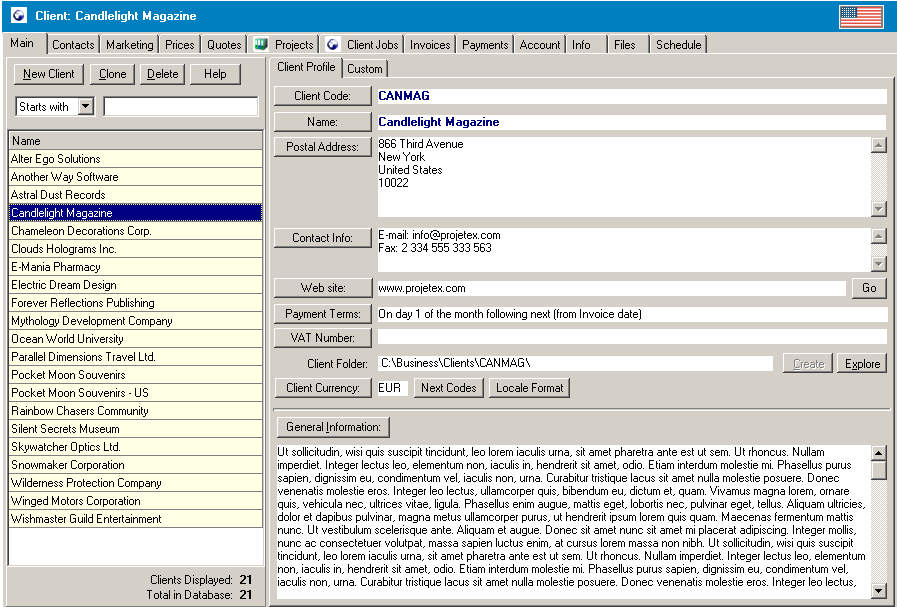
After the new Client record was added to the Translation Office 3000 database, it appears in the Clients list in the left part of the Client window and you can view/change its profile on the Client profile tab on the right.
You can also change Client name, code and currency from the Edit Client window. To open it double-click the necessary Client record from the Client list on the Main Client tab.
On the Contacts page of the Client window you can add information about the contacts persons of the client.

Changing Client details:
You can edit client's information from the Client Profile tab of the Main page of the Client window.
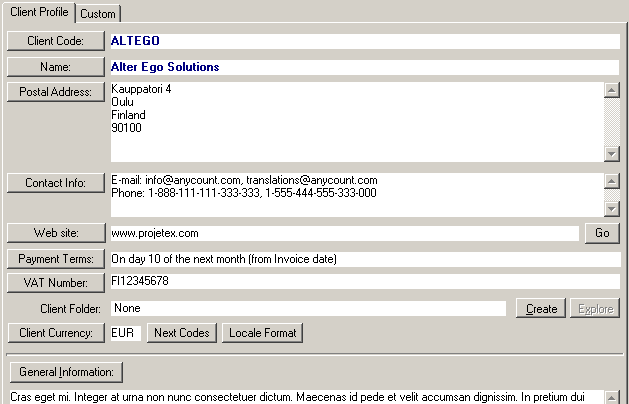
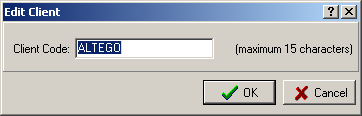
| · |  - by clicking this tab, you can enter or change the client’s code of no more than 15 characters in the field of the pop-up Edit Client dialog box. It is the same code, which you have assigned, manually or automatically, when created the new client record using New Client button, mentioned above. - by clicking this tab, you can enter or change the client’s code of no more than 15 characters in the field of the pop-up Edit Client dialog box. It is the same code, which you have assigned, manually or automatically, when created the new client record using New Client button, mentioned above. |
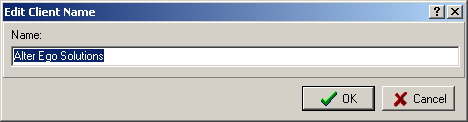
| · |  – displays a name of the client you entered. By clicking this button, you can change or make corrections in the name in the appearing Edit Client Name dialog box. Then, either confirm the changes by clicking OK, or discard them by clicking Cancel. – displays a name of the client you entered. By clicking this button, you can change or make corrections in the name in the appearing Edit Client Name dialog box. Then, either confirm the changes by clicking OK, or discard them by clicking Cancel. |
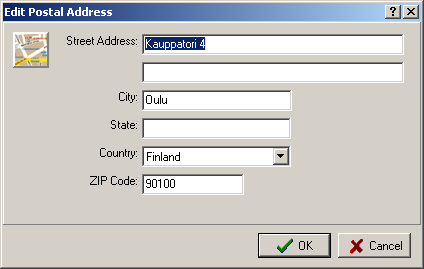
| · |  – allows you to add or change a postal address of the client. On Postal Address button click the Edit Postal Address dialog box appears, where you can enter street, city, state and other client postal information. You can choose a country of freelancer by clicking the down arrow of the drop-down Country list. When finished, click OK to save the changes, or Cancel to discard them. – allows you to add or change a postal address of the client. On Postal Address button click the Edit Postal Address dialog box appears, where you can enter street, city, state and other client postal information. You can choose a country of freelancer by clicking the down arrow of the drop-down Country list. When finished, click OK to save the changes, or Cancel to discard them. |
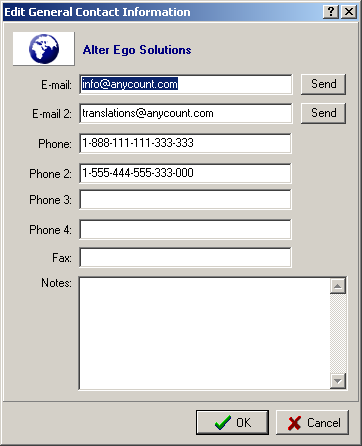
| · |  – allows you to add or change contact information of the client. By clicking this button, you open Edit General Contact Information dialog box. This box contains fields for entering two e-mail addresses, four phone numbers, fax number and some additional information. Send buttons on the right of the E-mail/E-mail 2 text fields allows you to send an e-mail message directly to the provided e-mail addresses simply on click. – allows you to add or change contact information of the client. By clicking this button, you open Edit General Contact Information dialog box. This box contains fields for entering two e-mail addresses, four phone numbers, fax number and some additional information. Send buttons on the right of the E-mail/E-mail 2 text fields allows you to send an e-mail message directly to the provided e-mail addresses simply on click. |
| · |  – opens Edit Web site of Client dialog box, providing the field for entering a Web site address of your client. – opens Edit Web site of Client dialog box, providing the field for entering a Web site address of your client. |
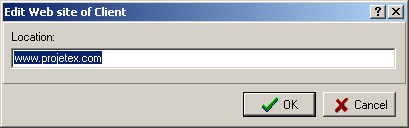
Go button (on the right of the Web site) click points your Internet-browser to the provided Internet address.
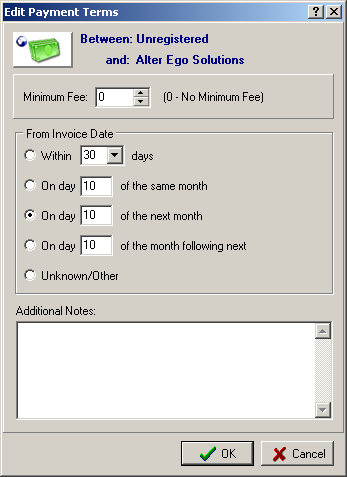
| · |  – allows you to specify a payment day for clients, and their minimum fees. To set payment terms, click the Payment Terms button, and in the appearing Edit Payment Terms dialog box specify the minimum fee for payments from this client, and a payment day from the receiving of invoice by selecting the corresponding option. Please note, that in the first option Within
days, you have a range of days to choose from the drop-down list. Simply click the down arrow, and choose the necessary number of days. If none of the options meets your conditions you have the last option Unknown/Other. In the Additional Notes box you can add some extra conditions to the chosen option or specify the details if having chosen Unknown/Other. – allows you to specify a payment day for clients, and their minimum fees. To set payment terms, click the Payment Terms button, and in the appearing Edit Payment Terms dialog box specify the minimum fee for payments from this client, and a payment day from the receiving of invoice by selecting the corresponding option. Please note, that in the first option Within
days, you have a range of days to choose from the drop-down list. Simply click the down arrow, and choose the necessary number of days. If none of the options meets your conditions you have the last option Unknown/Other. In the Additional Notes box you can add some extra conditions to the chosen option or specify the details if having chosen Unknown/Other. |
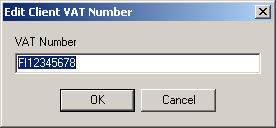
| · |  – allows you to enter or change a VAT number of your client. Click on the VAT Number button, and in the Edit Client VAT Number dialog box enter the necessary information. – allows you to enter or change a VAT number of your client. Click on the VAT Number button, and in the Edit Client VAT Number dialog box enter the necessary information. |
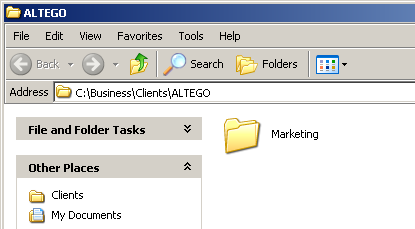
| · | Client Folder – shows you the location of the client’s folder. You can create by clicking Create button on the right from the Client Folder field. By default the client’s folder will be created on disk C. When the folder is created, the Explore button becomes active. Click it to open the client's folder in the Windows Explorer window. |


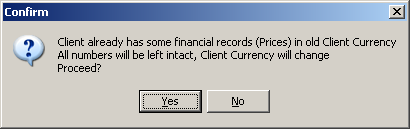
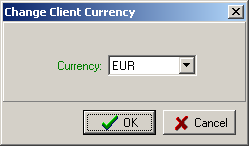
| · |  – allows you to set the client’s currency. On Client Currency button click the Change Client Currency dialog box appears, displaying the drop-down list for choosing the currency. If the currency has been previously set and some financial records where created for this client, the Confirm window appears first, warning you that if you choose to proceed, the client’s currency will be changed, but all numbers will stay intact. – allows you to set the client’s currency. On Client Currency button click the Change Client Currency dialog box appears, displaying the drop-down list for choosing the currency. If the currency has been previously set and some financial records where created for this client, the Confirm window appears first, warning you that if you choose to proceed, the client’s currency will be changed, but all numbers will stay intact. |
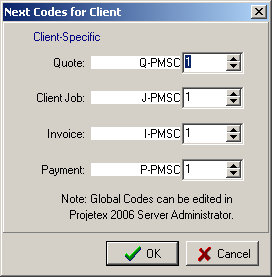
| · |  – allows you to set or change clients codes for different items, such as quote, job, invoice and so on. Click Next Codes button and in the appeared Next Codes for Clients dialog box set or change the necessary code values by clicking up or down arrows of the corresponding fields. Then, click Yes to save the changes, or Cancel to exit without saving them. – allows you to set or change clients codes for different items, such as quote, job, invoice and so on. Click Next Codes button and in the appeared Next Codes for Clients dialog box set or change the necessary code values by clicking up or down arrows of the corresponding fields. Then, click Yes to save the changes, or Cancel to exit without saving them. |
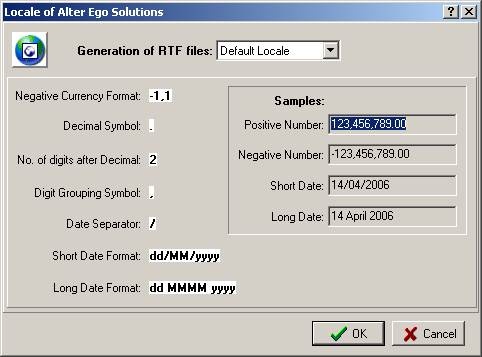
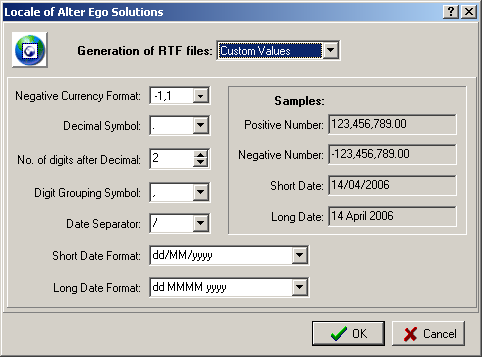
| · |  – enables you to set the view of data input into your files according to several options, which include among others decimal symbol, data separator, long and short date formats, and so on. Click the Locale Format button to open the Locale of
dialog box. It should be pointed out that in the Generation of RTF files active field you have a choice of setting a view of data input. You can set it either to Default Locale or change it to Custom Values. – enables you to set the view of data input into your files according to several options, which include among others decimal symbol, data separator, long and short date formats, and so on. Click the Locale Format button to open the Locale of
dialog box. It should be pointed out that in the Generation of RTF files active field you have a choice of setting a view of data input. You can set it either to Default Locale or change it to Custom Values. |
When Custom Values is selected, drop-down lists for changing the displayed options appear.
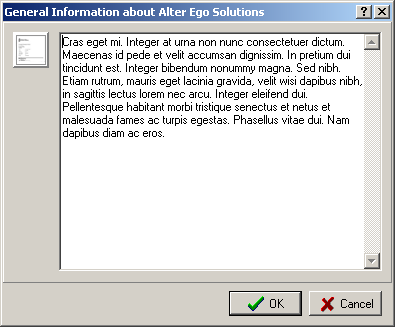
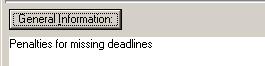
| · |  . Opens General Information about... text box where you can enter any additional information about the client. It will be displayed under the General Information button. . Opens General Information about... text box where you can enter any additional information about the client. It will be displayed under the General Information button. |

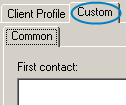
Under the tab Custom, you can enter any private information about your clients, such as names of directors, business trends, first contact date and so on.
For storing each type of information you can create custom fields and group them on tabs at your will. Custom fields and tabs are created on the Custom Fields page of the Advanced Settings window .
On the Contacts page of the Client window you can create, edit and delete information on the contact persons of the selected client (the client is selected on the Main page of the Client window; the name of the selected client is displayed in the Client window caption; e.g. the next screenshot shows Contacts page for Alter Ego Solutions).
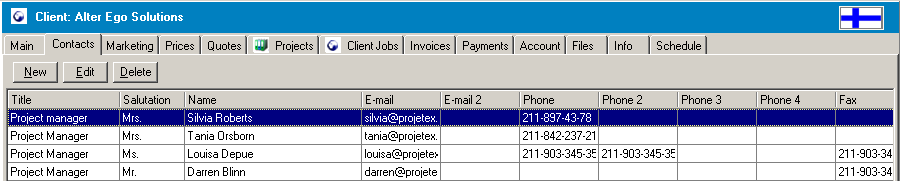
To open the Contacts page, open the Client window and then click Contacts tab.
Each Contact has the following properties:
 Note: You can sort out the contacts on this page by each attribute just by clicking on the corresponding column name. You can also change the columns order according to your preferences, customize which columns to be displayed or switch to the vertical view of the table. Note: You can sort out the contacts on this page by each attribute just by clicking on the corresponding column name. You can also change the columns order according to your preferences, customize which columns to be displayed or switch to the vertical view of the table.
For details, see General features > User Interface > Tables.
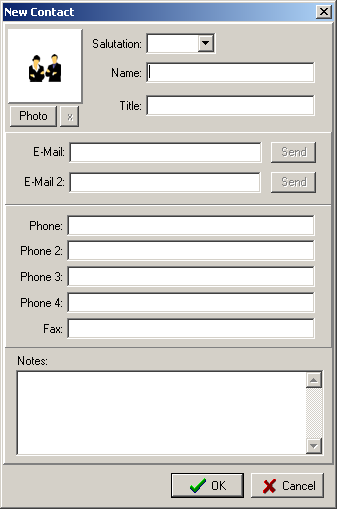
If you want to add a contact, click New button, and in the pop-up New Contact window you can enter the necessary information. You can also write down some notes in the Notes box. Having done it, click OK to save the changes, and to add the new contact to the database, or click Cancel to discard the new contact setting.
If you want to edit the existing contact, select it from the list by clicking on it and then click Edit button or just double-click the contact you wish to edit. In both cases the Edit Contact pop-up window will appear. Here you can change the necessary information about this contact, and then click OK to save the changes or click Cancel to leave without saving the changes.


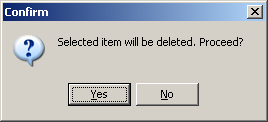
To delete the contact, select it from the list by clicking on it and click Delete button. In the pop-up Confirm window click Yes to delete the contact, or click No to exit the window without deleting of the contact.
|
