CHMlib Logo Leading Translation Management System for Translation Agencies, Top Translation Management Software for Freelance Translators, Time Tracking Software, Word Count, Character Count and Line Count Software, Computer Assisted Translation Tool for Easy Word Count, Clipboard Character Count Software, User-Friendly Translation Memory Software, Terminology Management Software, Terminology Management Server, Microsoft Glossary Software, Dictionary of Acronyms, Social Network for Translators and Translation Agencies, Acronyms and Abbreviations Search Engine, Russian Translation Lab, Ukrainian Translation Lab.
You are reading help file online using chmlib.com
CrisisHelper - First Aid in Tough Times of World Economic Crisis


tologo New Project window

Top  Previous  Next

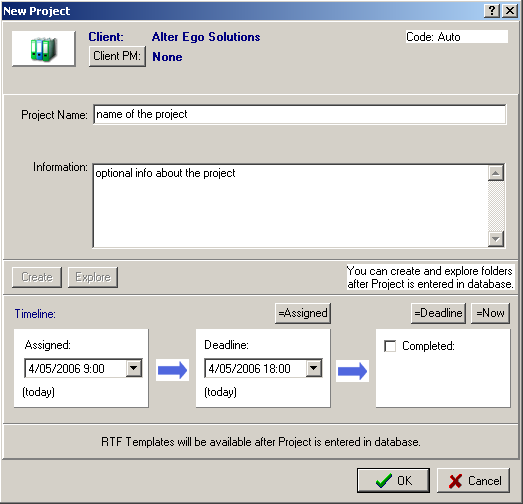
In the New Project window you can specify the necessary information about the project when creating a Project record, i.e. enter the Project name, timeline etc.

new project

New Project window opens on New Project button click from the Main page of the Projects window or on the New button click from the Projects page of the Client window.


line


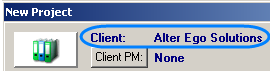
Translation Office 3000 V8 automatically assigns the unique code for the Project.

The Client of the Project is displayed in the upper part of the New Project window.

new proj client

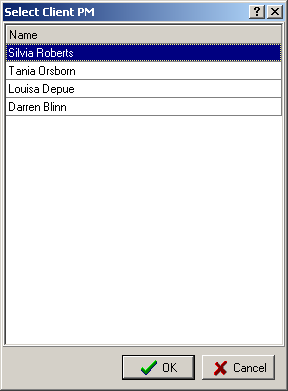
Using Client PM button you can specify the Client Project Manager, in charge for the project, selecting it from the Select Client PM dialog:

select client pm

note Note: The list of the Client Project Managers can be edited on the Contacts page of the Client window. More details...


Enter Project Name and Information about the project into corresponding fields (maximum 70 characters  and 390 characters correspondingly):

name_info

note Note: The limitation for the Project Name field is 70 characters, for the Information field  - 390 characters.


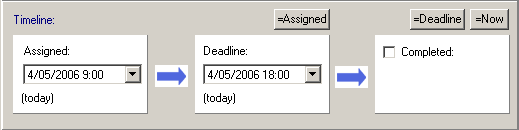
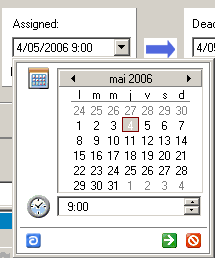
Specify the project timeline using Assigned and Deadline drop-down fields:

proj timeline

To specify the Assigned date:

calendar

       In the drop-down dialog box you  can easily select deadline month, day, and time:

·To select the month, click the right and left arrows near the month name.
·To select the date, click the day number.
·To select the time, click the up and down arrows near the time field. You can also enter the time manually.


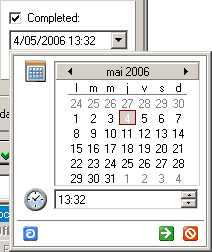
Deadline of the project is set in similar way, using Deadline drop-down field. If the date of the Deadline coincides with the Assigned date, you can set it automatically using =Assigned button.

When the Project is completed, you can specify it selecting Completed option and setting the date as described above:

completed

or using =Deadline and =Now buttons, to set the completed date equal to the Deadline date or to the  current date&time correspondingly.  

note Note: As a rule Completed option is used after the project was created, it is accessed from the Edit Project window.


_bm2


See Also:

Adding a New Project

Edit Project window


You are reading help file online using chmlib.com

If you want your help file to be removed or added please send e-mail to chmlibcom@gmail.com
Partner sites: Logo Design, Simple Anti-Crisis Accounting Software, Voice Search for Web