You are reading help file online using chmlib.com
|
You are reading help file online using chmlib.com
|

|
Templates |
Top Previous Next |
|
Templates can be used to customize the Target Entry view. You can change font, text color, size and alignment, as well as text highlight color. Each template is saved in a file. You can quickly switch between existing templates by clicking menu Settings > Templates and selecting one of the templates there.
By default AnyLexic, Version 2.0 uses standard Default.alt template located in C:\Documents and Settings\All Users\Application Data\AIT\AnyLexic 2.0\Templates\ after AnyLexic, Version 2.0 installation.
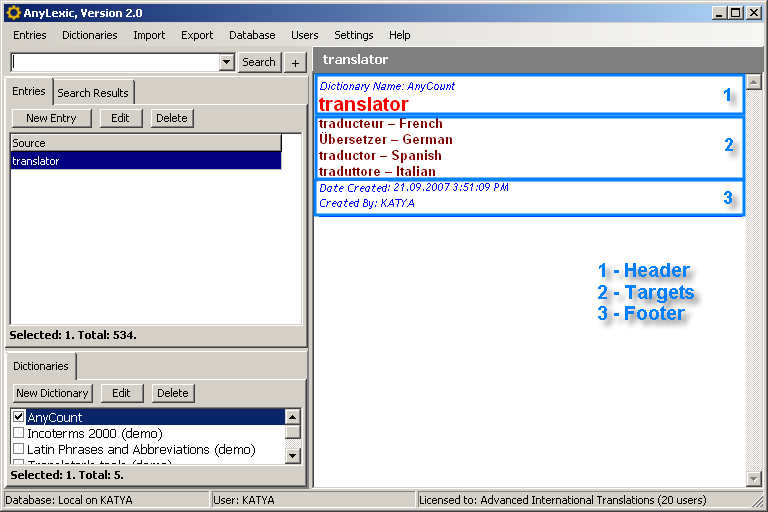
Template areas The Target Entry view is displayed in reach text and consists of three main areas, which are being edited separately:
You can edit these parts by changing font style, weight, color, background and inserting or deleting text variables. Several templates can be created, one for each situation, and then quickly be switched between, using menu Settings > Templates.
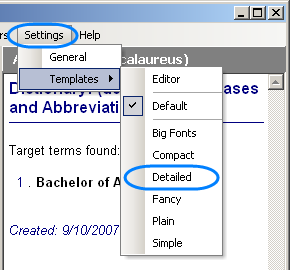
Click menu Settings > Templates, and select name of the template you wish to apply. Currently applied template is marked with a check mark in Settings > Templates menu.
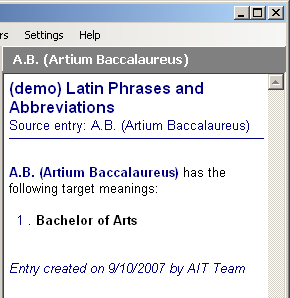
Once a new template has been selected, Target Entry view will change according to the newly selected template. On the screenshot below Detailed template has been applied:
You can create your own templates or edit default ones to adjust the Target Entry view to your own requirements.
See also:
|
You are reading help file online using chmlib.com
|