You are reading help file online using chmlib.com
|
You are reading help file online using chmlib.com
|

|
|
Top Previous Next |
|
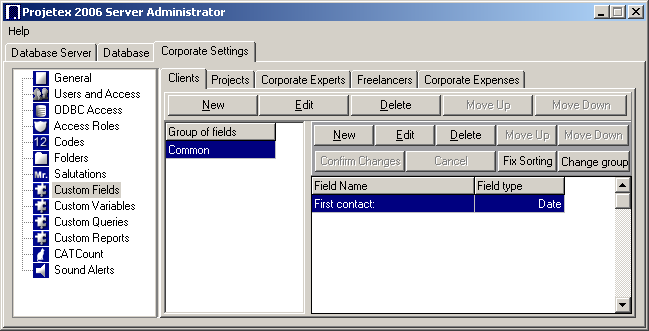
To fit your individual needs and add different kinds of additional information you can create custom fields of various types: Number, CheckBox, String, Text, Date, Time, Date and Time, for each group – Clients, Projects, Corporate Experts, Freelancers, and Corporate Expenses. Custom fields can be added on Custom Fields page of the Advanced Settings window.
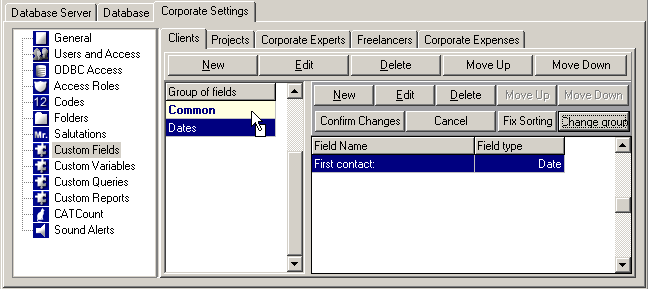
To open Custom Fields page click Custom Fields in the left part of the Server Administrator Corporate Settings window.
When creating a new field, you will need to specify the Group of fields the newly created field belongs to. So if you want it to be other, than default Common group, please create custom Group of fields first.
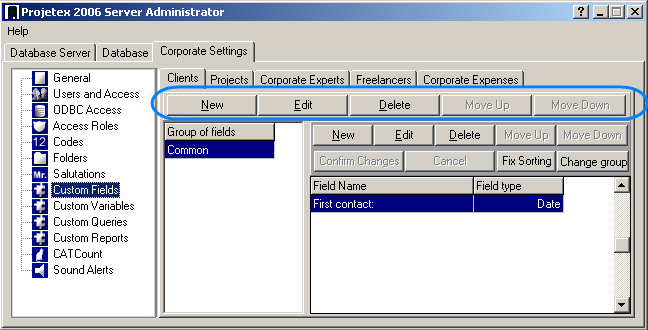
To add a new Group of fields: 1. Select the necessary tab: Clients, Projects, Corporate Experts, Freelancers Corporate Expenses 2. Click New button from the upper row of buttons.
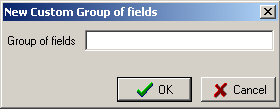
3. Specify Group of fields in the New Custom Group of fields window.
4. Click OK to save changes or click Cancel to discard.
To edit/delete Group of fields select it from the list and click Edit or Delete button correspondingly from the upper button row.
To change the order of the Group of fields, i.e the order of tabs with the Custom Fields, use
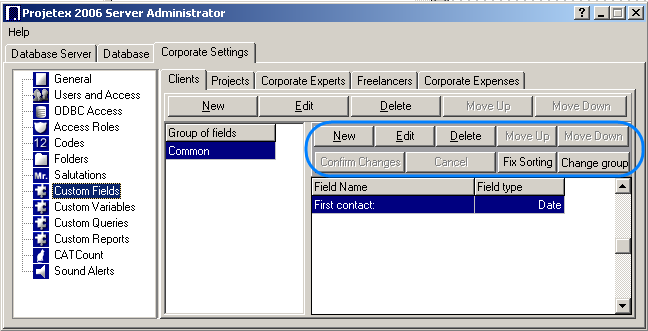
To add a new Custom Field: 1. Select the necessary Group of fields (if you have created more than one). 2. Click New button from the lower row of buttons:
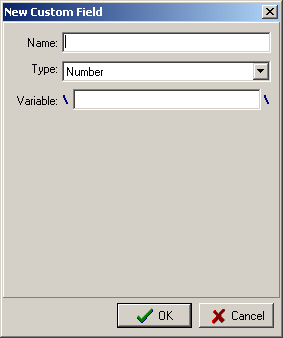
3. Fill the fields of the New Custom Field window:
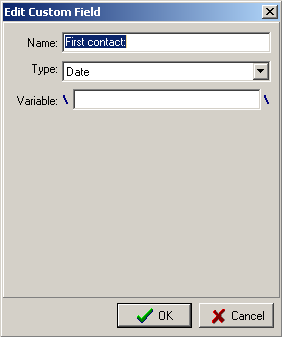
Use Edit button from the lower row to change the name, type or variable name of the selected Custom Field. You can enter the changes in the Edit Custom Field window, that will appear on the button click. It is absolutely similar to the New Custom Field window described above. Example:
To delete the Custom Field click Delete button from the lower row and confirm the deletion.
Use
Use
To move the Custom Fields to another Group of fields, i.e. another tab, click
To confirm all changes you have made with the Custom Fields click To cancel all changes click
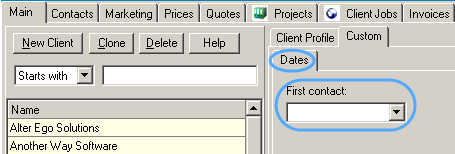
The new custom fields appear on the Custom tab of the Main page of the Client, Project, Freelancer or Corporate Expert window. For example on the following screenshot First contact drop-down list is a custom field placed on the Dates custom fields group.
|
You are reading help file online using chmlib.com
|