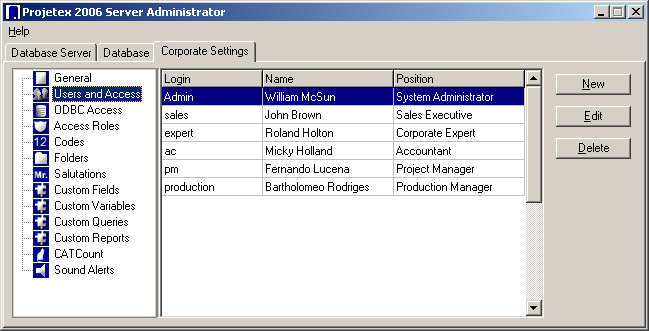
On Users and Access page of Corporate Settings window you can create new users/edit existing users and define their access rights to various windows.
To open Users and Access page click Users and Access in the left part of the Corporate Settings window.
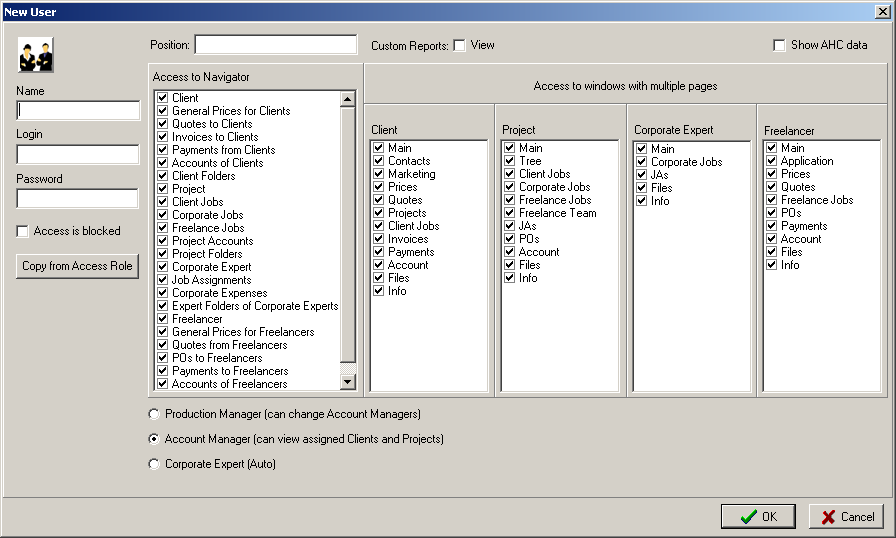
To add a new user:
1. Click New button. New User window appears:
2. Fill in the fields provided and select the necessary options:
· | Fill in Position, Name, Login and Password fields with appropriate information. |
· | Check boxes selected in Access to Navigator window determine access to particular icons of Navigator (and therefore windows of the Projetex 2006 Workstation). |
· | Click Copy from Access Role button to copy settings from access role you have previously defined in Access Roles page. |
· | give access to Custom Reports menu in Projetex Workstation selecting Custom Reports View option; |
· | enable displaying AHC (Average Hourly Cost) data of all corporate experts for any Project Manager selecting Show AHC data option. |
· | Select Production Manager option to enable user to set/change Account Managers for the projects. |
· | Select Account Manager option to enable user view only assigned Clients and Projects. |
· | If the user is a corporate expert, select Corporate Expert (Auto) option. This would disable Access to Navigator options and enable special mode for this user when only expert jobs and job assignments of this particular expert will be displayed: |
4. Click OK to save changes or click Cancel to discard.
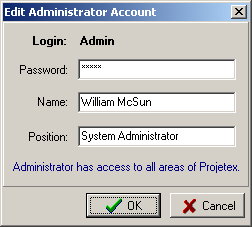
To edit the existing user:
1. Select user from the list.
2. Click Edit button.
3. Make the necessary changes in the Edit User window (it is similar to New User window described above).
Note: System Administrator (i.e. user, who has unlimited access to Projetex) exists by default and cannot be deleted. Only his Password, Name and Position can be changed:
4. Click OK to save changes or click Cancel to discard.
To delete the existing user:
1. Select user from the list.
2. Click Delete button.
3. User will be deleted after your confirmation.
See Also: Corporate Settings
|